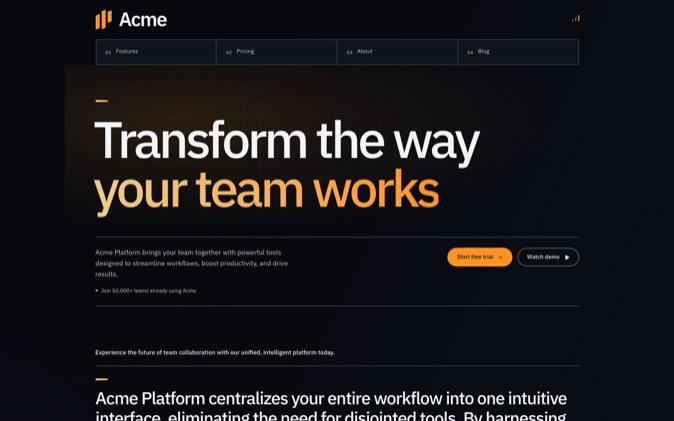
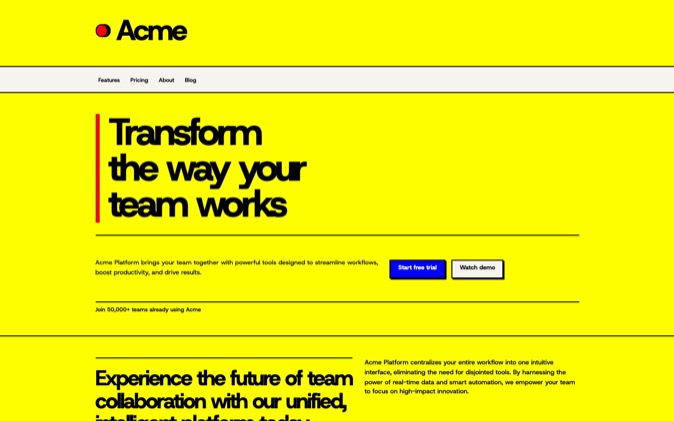
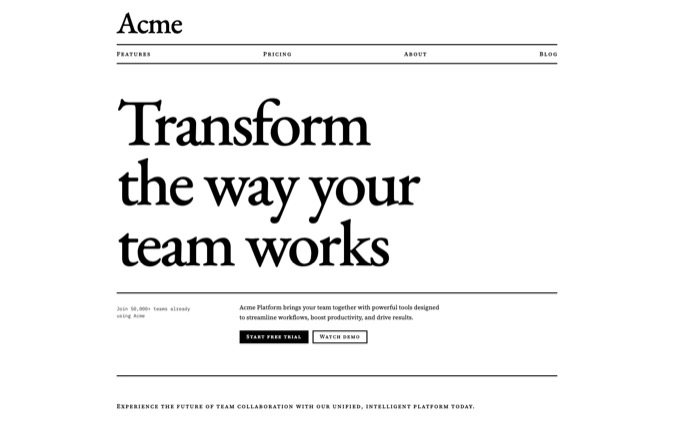
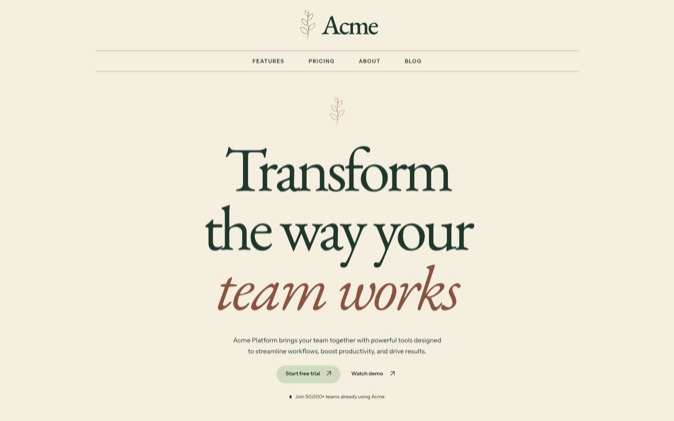
A DesignPrompts Builder prompt combines your page plan, visual choices and product brief with instructions for the coding agent's work. You can inspect that text before handing it over. This walkthrough uses an actual export for Relay, a fictional appointment-booking SaaS, and shows how one control changes the instructions.
The export demonstrates what Builder composes. Your coding agent still implements and tests the page in your project.
The example starts with the SaaS launch template and the Clear Day Preset. Relay serves independent salons and lets them publish availability, accept bookings and send reminders. Its primary action is Book a demo.
The prompt uses these choices:
| Control | Selection in this export |
|---|
| Build goal | New page |
| Design method | DesignPrompts Harness |
| Creative freedom | Bold |
| Build approach | Image first |
| Approval checkpoints | Approve the first screen |
| Extra skills | None selected |
| Save design rules in DESIGN.md | Off |
Builder's Product field and Page brief supply the product information. The Page brief is stored as details in the document and appears under <details> in the prompt.
If you want the broader explanation first, the design-prompt guide describes what makes these instructions useful. Here, we will follow the actual text.
The brief gives the agent its product facts
The export includes this exact product line:
xml
<product>Relay, a fictional appointment-booking SaaS for independent salons</product>
Its details include these sentences:
Relay lets a salon publish availability, accept bookings and send reminders. The primary action is Book a demo.
The rest of the brief identifies Relay as an illustrative product, requires labelled placeholders for missing screenshots and rules out invented prices, customer claims and integrations. It also asks the agent to preserve existing routes and form behaviour and inspect desktop and phone layouts.
This is where your own product facts belong. A Preset can specify a serif headline or a dark button; the brief tells the agent what that headline should communicate and where the action should lead.
The look becomes explicit design instructions
Clear Day's type settings become this line:
text
Type. Font pairing: Two sans-serif fonts, Host Grotesk for display, Instrument Sans for body; Headline size: 5.0 × body; Headline emphasis: None.
Its shape settings become:
text
Shape. Corners: Round; Button shape: Pill.
The surrounding look lines also name the background, button colour, colour use, page width, section spacing, cards and imagery treatment. Your agent receives those decisions in words it can act on, rather than having to infer every choice from a picture.
Near the end, the prompt supplies starting values. This consecutive excerpt gives the type and container values:
text
- display type at 1440 px: 80px
- display type at 390 px: 60px
- body type: 16px
- display weight: 500
- container width: 1200px
These are inputs for the implementation. The agent must still fit the real content to the layout and check the resulting page. The export's contrast statement concerns its derived starting values; it does not certify a page the agent has yet to build.
The page plan specifies sections and their options
The <sections> element lists the page in order. Two consecutive lines from Relay's export are:
text
4. Features: Image and text rows swap sides. With 3 rows.
5. Process: Connected steps, each with a number, heading and short description. With 3 steps.
Those lines carry both the selected arrangement and the content count. For Relay, the feature rows can explain the three supplied capabilities. The process section needs a sequence based on the product's real workflow when that content is supplied.
Individual sections can also carry their own style choices. The hero line ends with:
text
This section's own choices: Image type: Screenshots; Image framing: Browser frame.
That explains why the SaaS hero asks for a screenshot even though Clear Day's page-wide imagery setting is UI mockups. The template has stated what this section needs. Builder carries that distinction into the prompt.
Check that the plan agrees with the brief
The recorded export also contains a logo cloud, testimonials, pricing and hero numbers. The Relay brief supplies none of the facts those sections require.
Before using this example for an implementation, remove the unsupported blocks and disable the hero's unsupported trust caption and numbers in Builder. Keep Book a demo as the main action, and use only questions you can answer from supplied product facts.
This is a useful review step precisely because the structure is visible. A valid document can still request content you do not have. Parsing checks the document's form and supported choices; it does not fact-check your product.
Change Build approach and inspect the result
The example's Image first selection produces a <workflow> instruction beginning:
The following text asks the coding agent to use its image-generation tool before implementation. If it has no such tool, the instruction falls back to an HTML and CSS prototype. Builder supplies the instruction; image generation and implementation happen in the agent's workflow.
Change Build approach to Build directly. The new workflow begins with this exact text:
text
Work straight in the project. Build the page in the project's own stack from the start, with no prototype or picture before it.
It then asks the agent to inspect the page in a browser at desktop and phone widths and refine what it sees.
With the other choices held fixed, this control replaces the workflow instructions. The look, brief, section plan and approval checkpoint stay the same. A linked export can also have a different preview address because its link encodes the document, including the changed choice.
You can repeat the check:
- Open Get prompt in Builder and select Raw text.
- Find
<workflow> and read its current instruction.
- Under Agent instructions, find Build approach and select Build directly.
- Read
<workflow> again, then confirm that the brief and sections still describe the same page.
- Use Copy prompt when the choices match how you want the agent to work.
Choose Build directly when you want implementation to begin in your project's stack. Keep Image first when you want the agent to develop an image or prototype before the build.
The preview gives the agent a visual reference
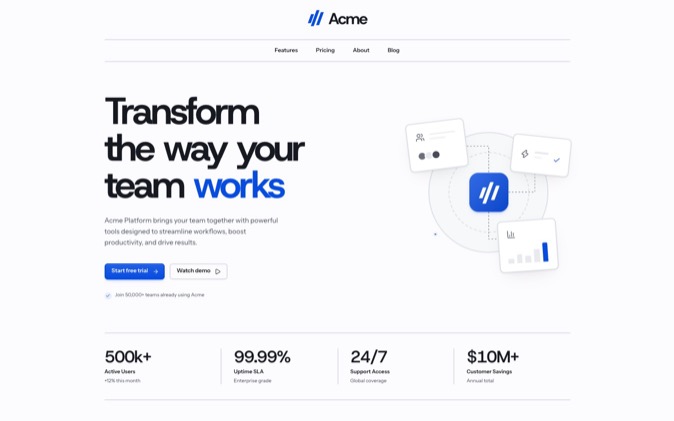
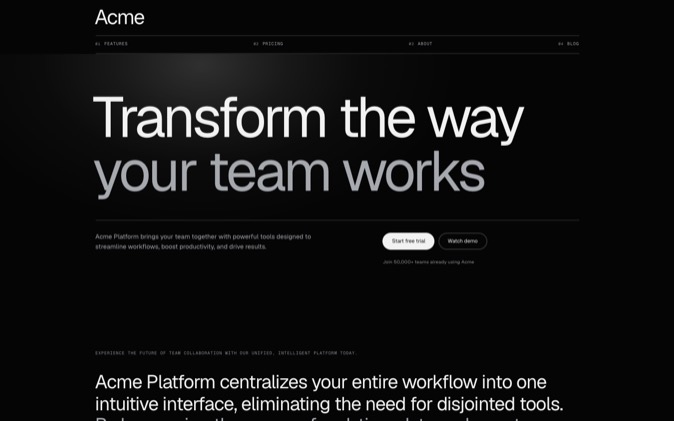
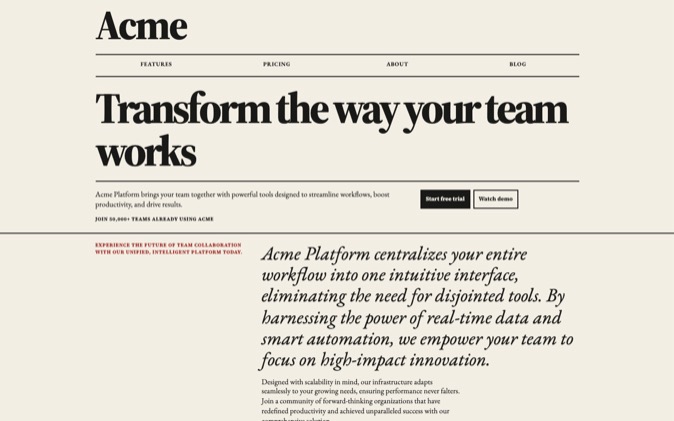
This export includes a <reference> address for the page's desktop wireframe. The instructions tell a browser-capable agent to open it and read a screenshot. An agent that cannot open the page can work from the written sections and look.
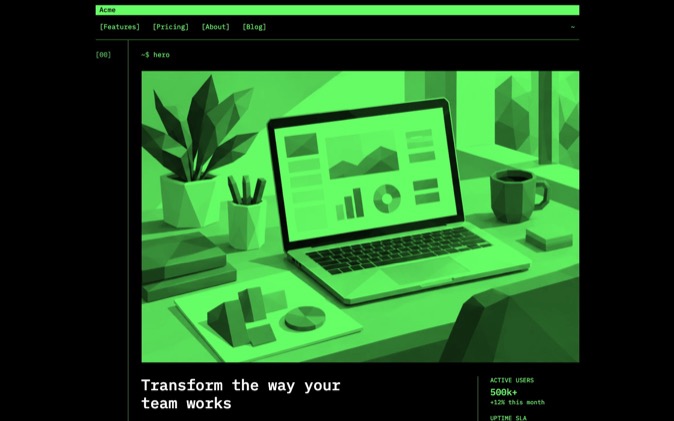
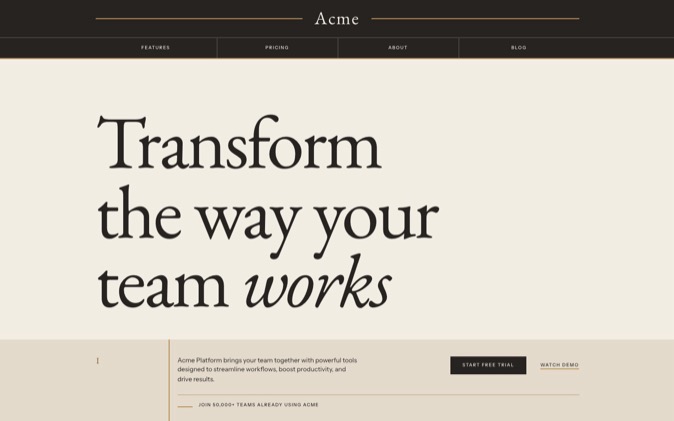
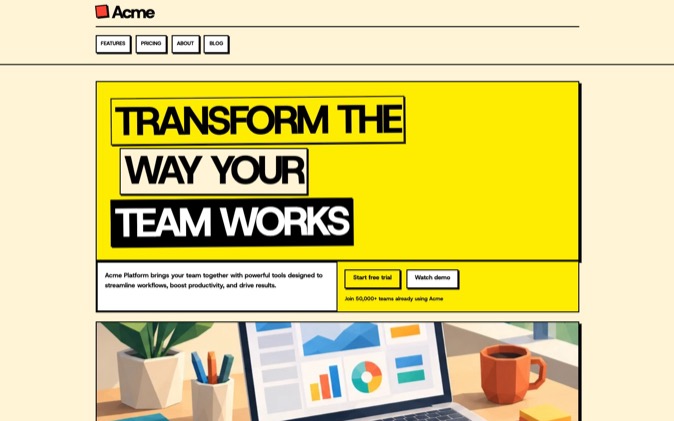
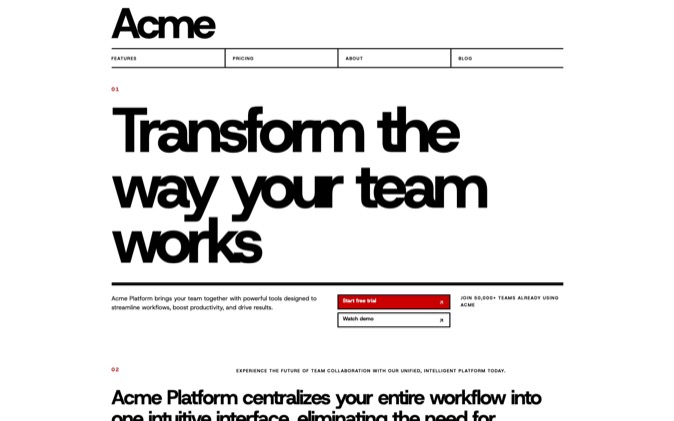
The wireframe communicates the starting arrangement, background tones and type shapes. With Bold selected, the prompt gives the agent room to rethink composition while retaining the look's essence, section order and content. Approve the first screen asks it to show you the page plan and first screen before continuing with the rest.
The included DesignPrompts Harness supplies further guidance on composition, typography, imagery, responsive work and visual checks. It is included as text in this prompt.
Inspect the handoff before the build
Check the Product and Page brief first, then the section list, assets and main action. Confirm that the build approach suits the tools your agent has and that the approval checkpoint matches how you want to review the work.
Agents preparing Builder documents can read the public vocabulary and document schema. The Builder module provides parseDocument, encodeLink and render. Parse the document before encoding its link, then inspect the render's problems and prompt text. That verifies composition, while implementation and rendered checks remain separate work.
DesignPrompts makes the handoff inspectable: the structure you chose, the look you selected and the facts you supplied appear together in the prompt. Open Builder to shape your page and inspect the instructions before your agent starts. It is free and needs no sign-up.