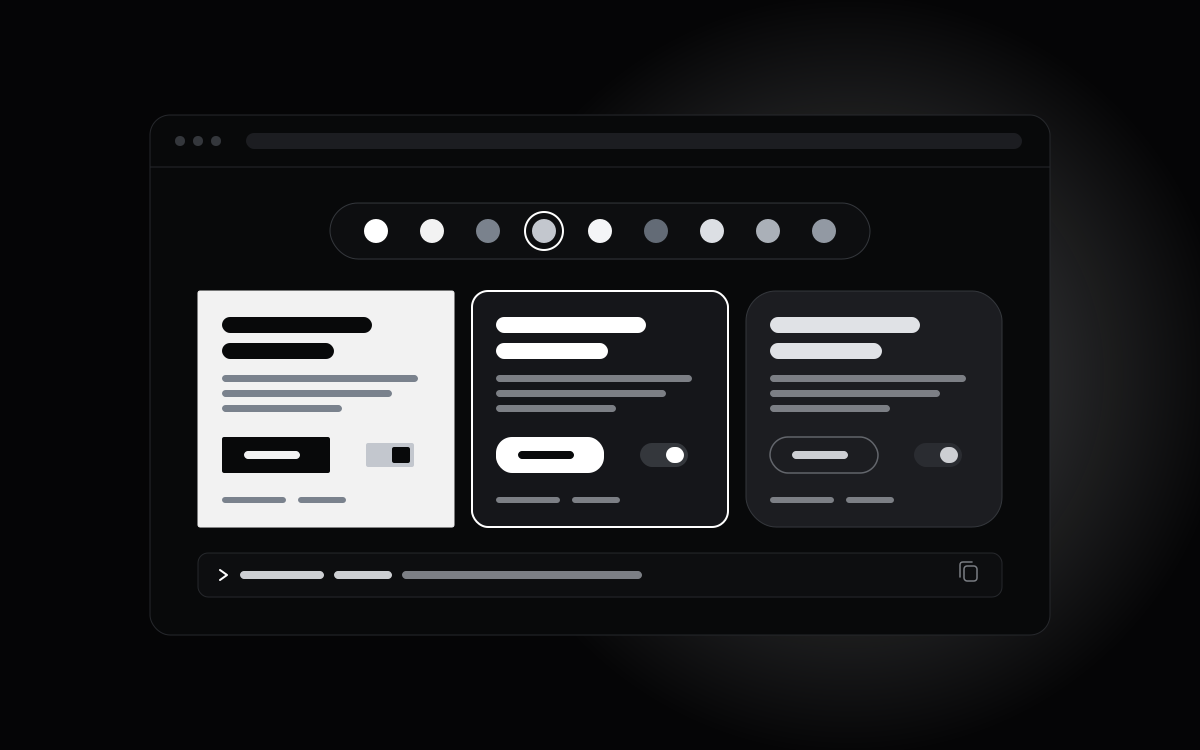
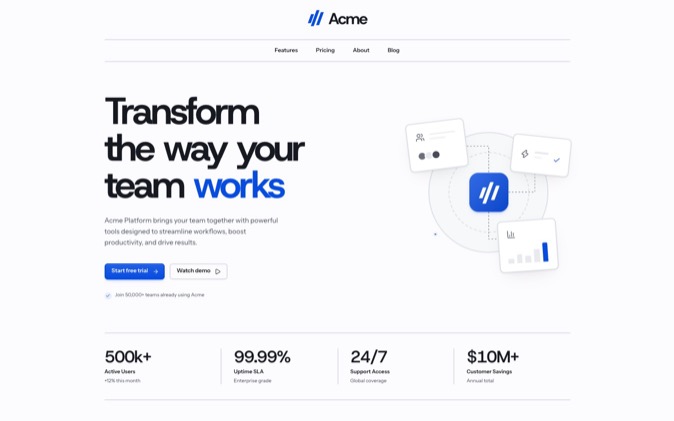
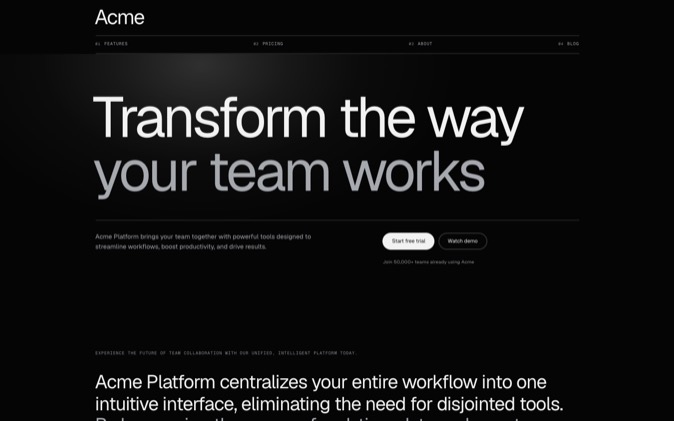
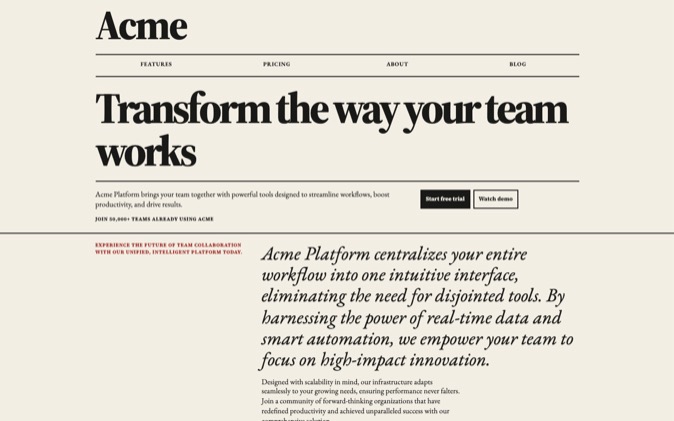
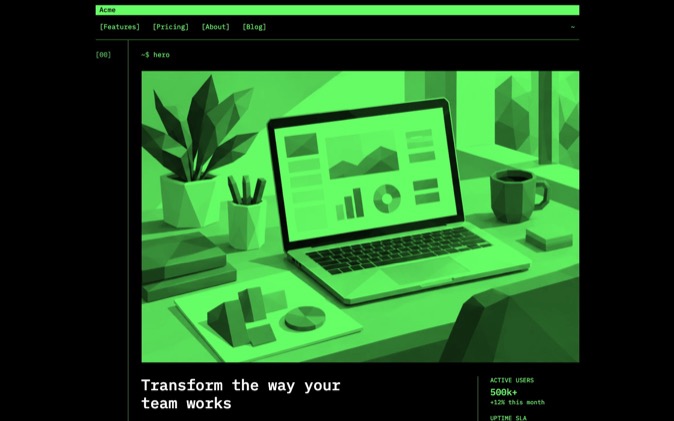
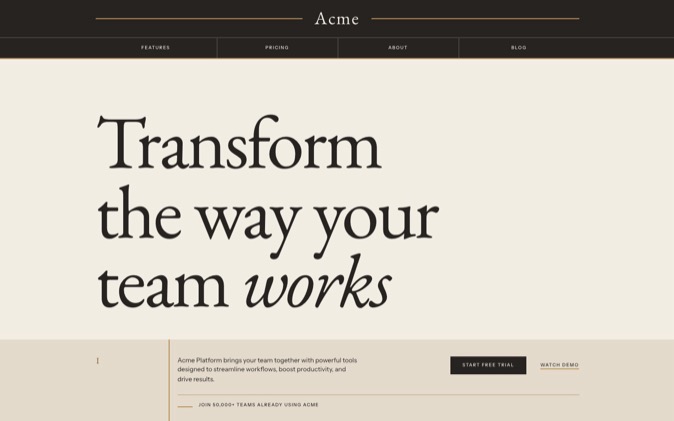
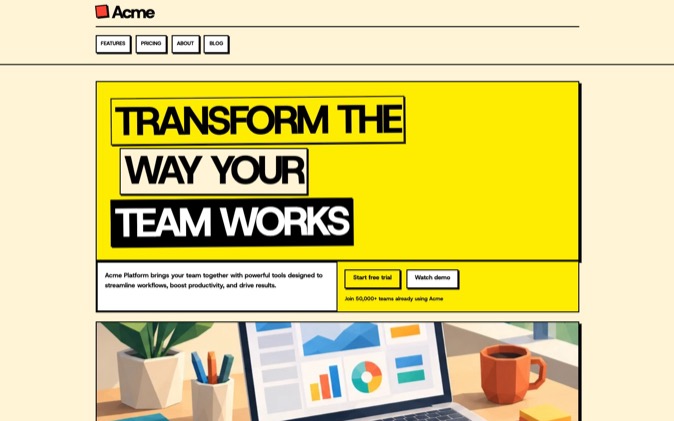
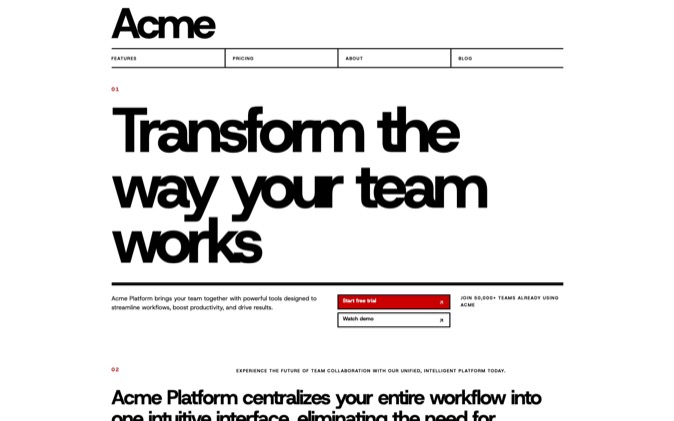
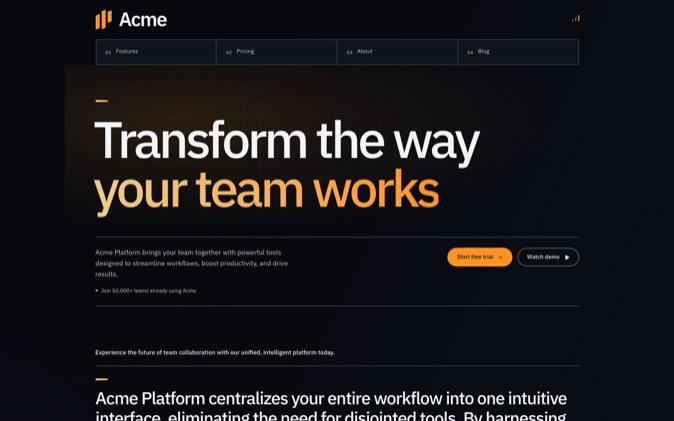
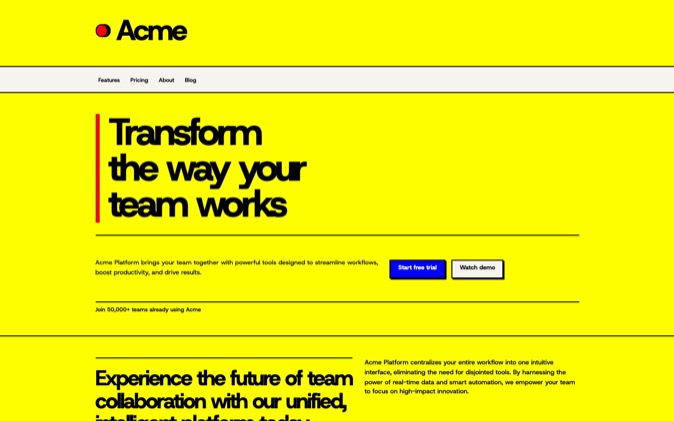
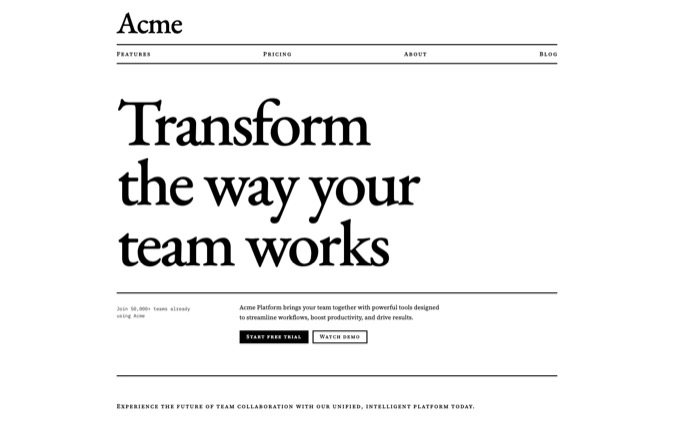
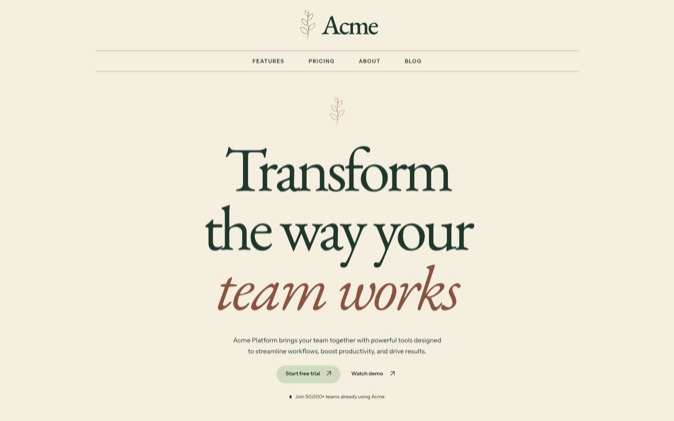
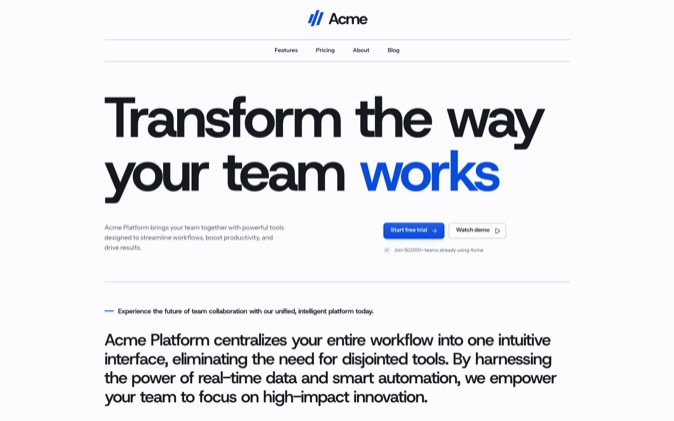
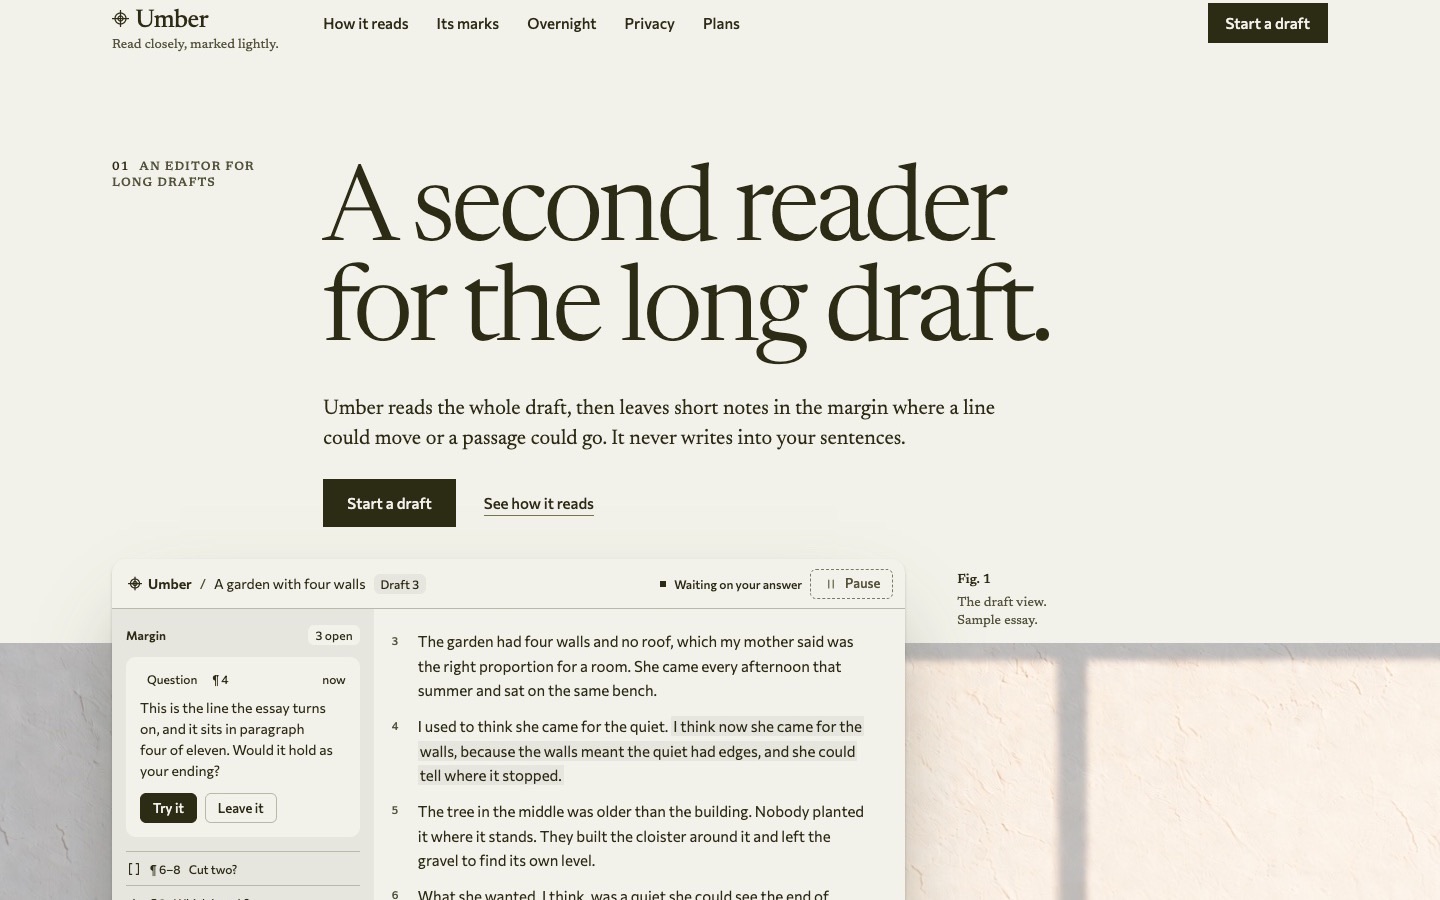
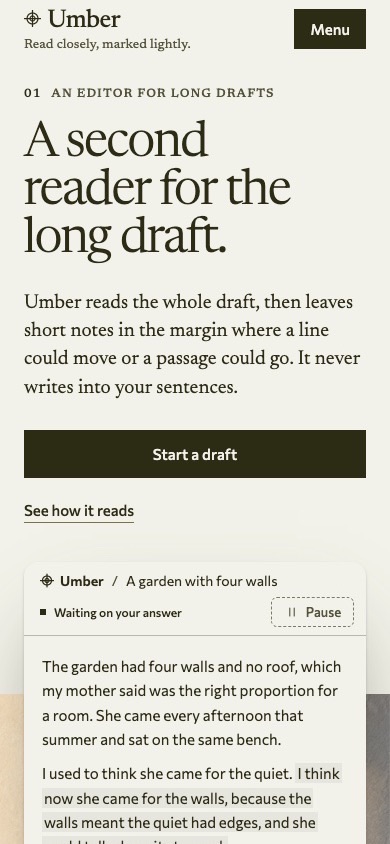
Choose a DesignPrompts LandingKit style, configure the registry and install the React components you need through the shadcn CLI. You can compare the same kinds of sections across 21 visual directions before committing to one. The installed files carry that style into your project, ready for your coding agent to compose and adapt.
Compare the styles
Start in LandingKit. Inspect a hero, a content section and pricing in the same pack. Compare Swiss Minimalist, Terminal or another direction that fits your product.
The catalogue also includes individual controls and app screens. Look at dense content as well as the hero so you can judge how the style works beyond the opening screen. Browsing is free and needs no account.
Choose one pack for the page you are building. To compare another pack's installed code, use a separate test project; the registry uses shared component names and paths.
Set up registry access
You need a React and Tailwind project configured for shadcn, plus an active Pro subscription. Pro includes all LandingKit styles and Premium Systems, with annual and quarterly billing.
- Open Billing in your account, then the billing portal to get your licence key.
- Copy the registry configuration shown on the LandingKit page into
components.json.
- Set
DESIGNPROMPTS_LICENSE_KEY in the environment where your agent runs the install command.
- Open the chosen item's page and copy its shadcn install command.
Keep the key itself out of components.json, chat and version control. The registry configuration points to the source; the environment variable supplies access.
Install and adapt the files
Install one item, then render it with your content before adding the rest of the page. For a Software page, Hero Stage is a useful first section when a product screenshot should be prominent.
Give your coding agent the installed file, your real copy and the page's primary action. Ask it to reuse the pack's typography and spacing while composing the remaining sections. The source is yours to edit under the Pro licence; it lives in your project.
For another arrangement in the same style, install a Block in the same content group and swap its import. Check image crops and responsive layout after the change.
Confirm the installation
Run your project's normal build and inspect the section in a browser. Check that the fonts and style are loaded, the content fits at phone width, and buttons perform the intended actions.
If registry access is refused, check that Pro is active and the install process can read the environment variable. Cancelling Pro preserves access through the paid period; afterward, new installs, downloads and updates stop. Files remain usable in the projects you used them in. Terms.
Choose a LandingKit style and install the first section your page needs.