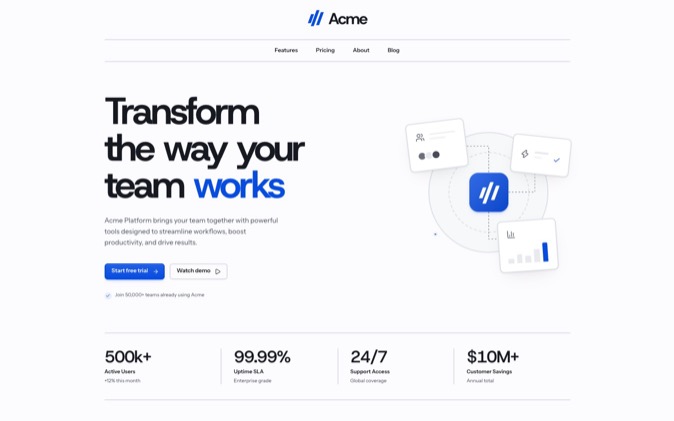
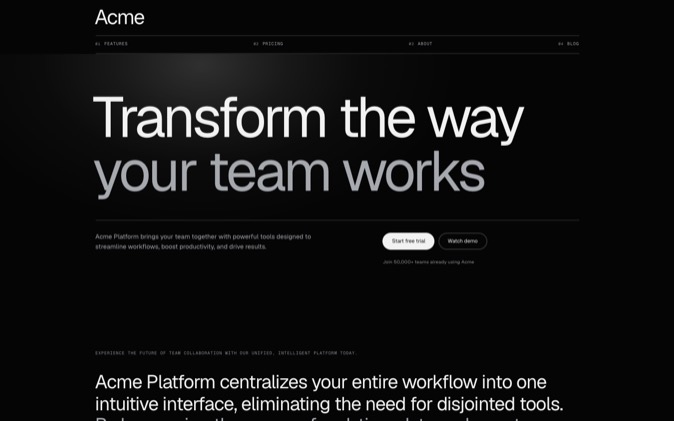
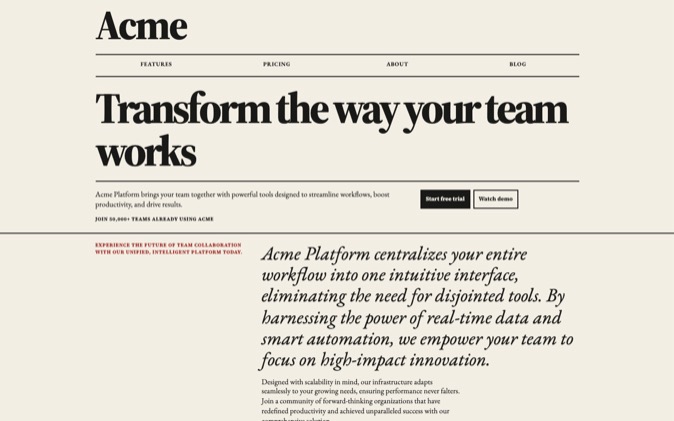
DesignPrompts gives you two useful ways to start a landing page: a free Builder prompt that your coding agent implements, or LandingKit's editable React and Tailwind files, included with Pro. Use the prompt when you want to shape the page visually and build in your project's stack. Choose LandingKit when you want ready-made components in place before the agent begins adapting them.
This tutorial uses the same fictional product, copy and page plan for both routes. You can follow either recipe and judge the result against the same requirements.
What changes between the two routes?
| Builder prompt | LandingKit |
|---|
| Starting input | A page template, a Preset and your brief | A chosen style and installed components |
| What DesignPrompts supplies | Instructions describing the page plan, look and brief | Editable React source, dependencies and the style's theme |
| Access | Free, with no sign-up | Free to browse; an active Pro subscription is required to install |
| Stack | Your agent implements the prompt in your project | React and Tailwind, installed through shadcn |
| Your agent's work | Implement the supplied design direction | Compose and adapt the supplied files |
A Builder Preset and a LandingKit style are separate choices. Selecting Clear Day in Builder does not select an installable pack. The two recipes below use directions chosen independently for the same product; their visual results will differ.
Give both routes the same Relay brief
Relay is a fictional appointment-booking SaaS for independent salons. It lets a salon publish availability, accept bookings and send reminders. Its primary action is Book a demo.
Use this content for both implementations:
| Section | Relay content | Reader's job |
|---|
| Header | Relay, links to Features and How it works, Book a demo | Find the explanation or take the next step |
| Hero | "Online bookings for your salon." | Understand the product and audience |
| Hero description | "Publish availability, accept bookings and send reminders with Relay." | Understand the supported capabilities |
| Features | Publish availability; accept bookings; send reminders | See what the product does |
| Process | Publish available appointments; let clients book; send a reminder | Follow the intended booking flow |
| Closing | "See how Relay fits your salon." with Book a demo | Continue to a demonstration |
| Footer | Relay and relevant page links | Navigate without introducing another offer |
The hero can show an illustrative availability panel. Label it as sample content. Relay has no customer counts, testimonials, prices or measured savings in this example.
For a real product, supply the existing demo-booking destination. For this fictional exercise, ask the agent to keep the action visibly identified as a prototype until that destination exists. A button's appearance does not establish a working booking flow.
Route one: make a free Builder prompt
Choose the page and look
Open the Start page, select SaaS launch, then choose Clear Day. Its light background and restrained interface treatment give the booking panel room to explain the product.
Inspect the Desktop and Mobile previews. Then choose Edit in Builder and adapt the page plan:
- Keep the header, hero, features, process, closing and footer.
- Remove the logo cloud, testimonials, pricing and FAQ for this exercise. The brief does not supply content for them.
- Choose the hero's Stage variation if you want the availability panel to lead visually.
- Turn off Trust caption and Key numbers in the hero.
- Use the Features Signature variation with three items, one for each supported capability.
- Keep the process explanation after the features and the closing action near the foot of the page.
These edits make the page answer Relay's brief. The template's sample content helps you inspect the layout; it is not evidence about your product.
Add the brief and copy the prompt
Open the prompt, enter Relay in Product, and put the shared facts and content plan in Page brief. For this exercise, choose New page, Build directly, Balanced, and Approve the first screen. These choices ask the agent to work in your project, stay closer to the selected direction, and show you the opening before continuing.
The Builder composes the product brief, visual choices and ordered sections into one prompt. It also supplies implementation guidance and starting values for the design. Choose Copy prompt and give it to your coding agent in the target project.
Add this request alongside the copied prompt:
text
Build the fictional Relay landing page from the attached DesignPrompts prompt.
Use the shared Relay copy and section order in this tutorial.
Identify this project's stack and existing design rules before editing.
Show availability as an illustrative product panel, clearly labelled as sample content.
Keep Book a demo as the primary action. Report that its real destination is missing.
Use only the stated capabilities and remove unsupported proof or offer sections.
Show the first screen for review, then complete the remaining page after approval.
Run the project's checks and inspect the page at desktop and phone widths.
This is a sample agent request to accompany the Builder output. The full prompt comes from your actual selections.
Route two: install LandingKit's Software components
For the code route, use LandingKit's Software style. Inspect Hero Stage and the Software catalogue before installing. You can see the components your agent will receive.
The public style is named Software; its installation identifier is saas. This is an independent choice from the Clear Day Preset above.
Prepare the project
You need a React and Tailwind project configured for shadcn and an active Pro subscription. If the project is not configured yet, follow the official shadcn setup instructions for your framework.
Merge this registry entry into the existing components.json. Keep the project's other configuration:
json
{
  "registries": {
    "@designprompts": {
      "url": "https://designprompts.dev/api/registry/{name}.json",
      "headers": {
        "Authorization": "Bearer ${DESIGNPROMPTS_LICENSE_KEY}"
      }
    }
  }
}
Open Billing in your DesignPrompts account, then the billing portal to obtain your Pro licence key. Set DESIGNPROMPTS_LICENSE_KEY in the environment available to the install process. Keep the value out of chat, components.json and version control. The shadcn namespace documentation explains registry configuration and environment-variable authentication.
Install the sections
Start with the hero:
sh
npx shadcn@latest add @designprompts/saas/hero-stage
The item brings its declared dependencies, including the Software theme. Follow the theme's installation note and import src/styles/saas.css once beside your Tailwind entry. Render the hero and confirm that the style and fonts load before adding the remaining sections:
sh
npx shadcn@latest add @designprompts/saas/site-header
npx shadcn@latest add @designprompts/saas/features
npx shadcn@latest add @designprompts/saas/process
npx shadcn@latest add @designprompts/saas/closing
npx shadcn@latest add @designprompts/saas/footer
Use one style in this project. To inspect another pack's installed code, use a separate project because the packs install components under shared names and paths.
Give the agent the installed files
Ask the agent to read the components' actual props before composing the page:
text
Build the fictional Relay page using the installed Software LandingKit components.
Read SiteHeader, HeroStage, Features, Process, Closing and Footer and their props.
Use the same Relay copy and section order as the prompt-based recipe.
Reuse the Software theme and its existing typography, spacing and controls.
Put an illustrative availability panel in HeroStage's media slot.
Remove the hero's unsupported trust-and-figures row and update its props and call sites.
Keep Book a demo as the primary action and report its missing real destination.
Run the project's checks, inspect desktop and phone layouts, and list the changes made to the installed source.
That proof-row edit matters. The supplied Hero Stage has trust text and figure inputs. Relay has no evidence to put there, so adapt the source instead of filling the space with invented claims. Empty strings alone can leave unwanted structure or spacing.
You now have concrete files to work from. If the hero arrangement needs changing later, the Block variation guide explains how related components share content inputs.
Review both pages against the same requirements
Use the same review for either implementation:
- The opening names salon bookings and shows the Book a demo action.
- The features and process explain only the three supplied capabilities.
- The illustrative panel is labelled and readable at phone width.
- The page contains no invented customers, pricing or performance claims.
- Navigation works, focus is visible, and the primary action's destination is accounted for.
- The project's build and relevant checks pass, followed by inspection of the rendered page.
Keep screenshots and the changes you request if you run both recipes. Those artifacts can support a later comparison of your results. Compare the rendered pages and the changes each needed before judging which route worked better for you.
When LandingKit is the useful next step
For Relay in a React project, I would choose LandingKit when the Software previews already fit the page. The hero, content sections, controls and theme give the agent working source to adapt. You can inspect that starting point before installing it.
The free Builder remains useful when choosing the structure and look is the main job, or when your project uses another stack. Both routes keep the design decision with you.
LandingKit is included with Pro. The subscription renews until cancelled and remains active through the paid period. After it ends, you can keep using the files in the projects where you used them; new installs and updates stop. The current plans and terms describe access.
Explore LandingKit and inspect the first section you want your agent to build from.