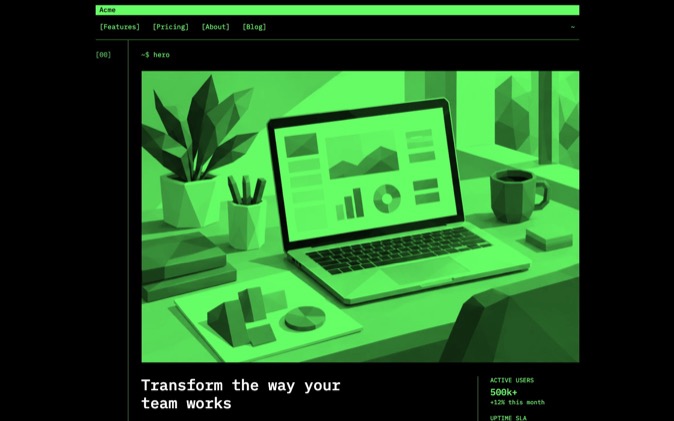
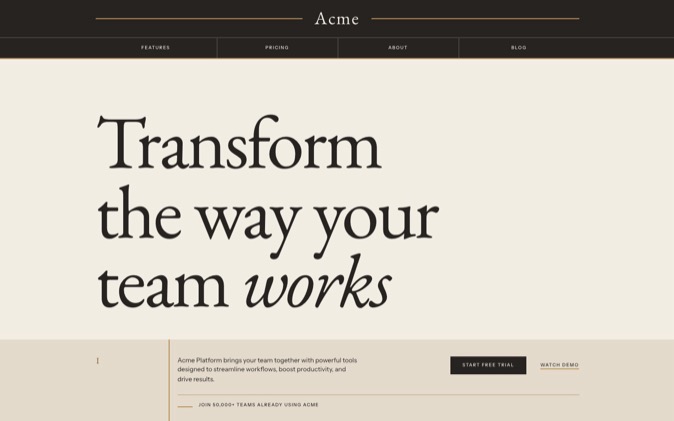
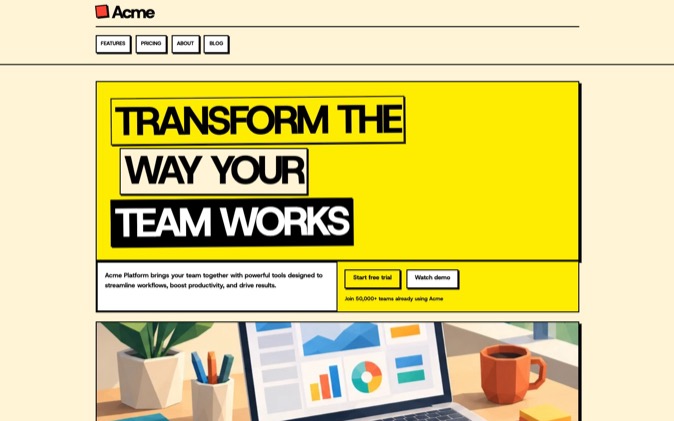
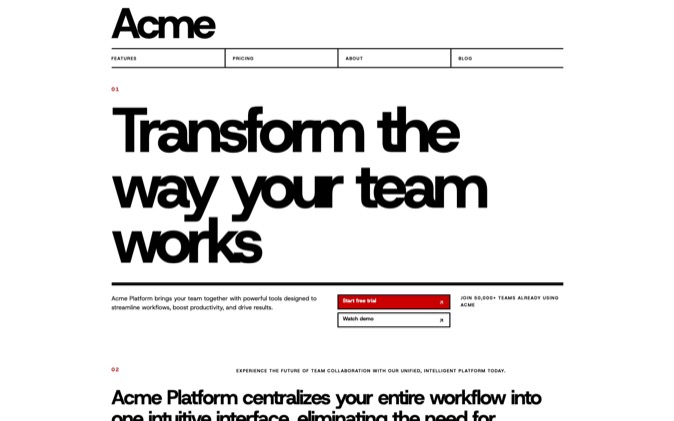
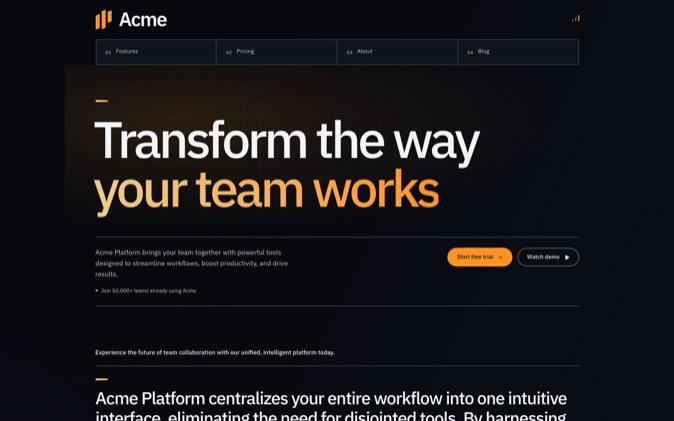
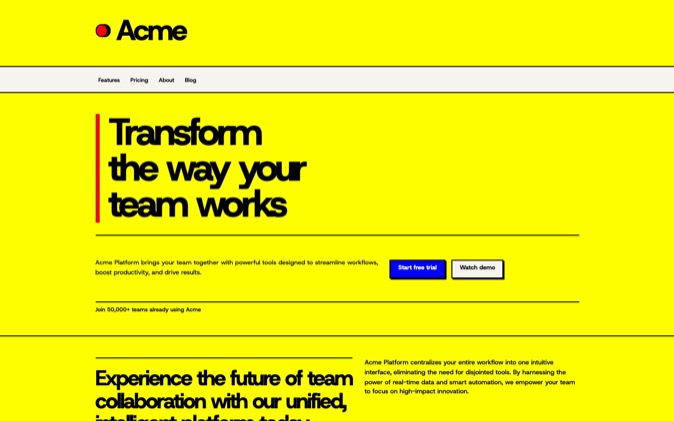
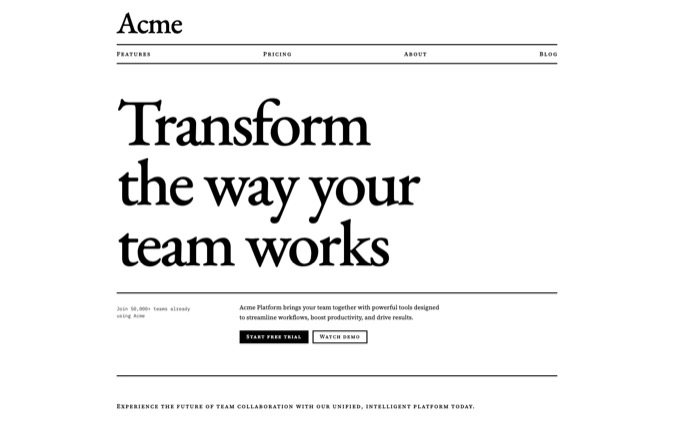
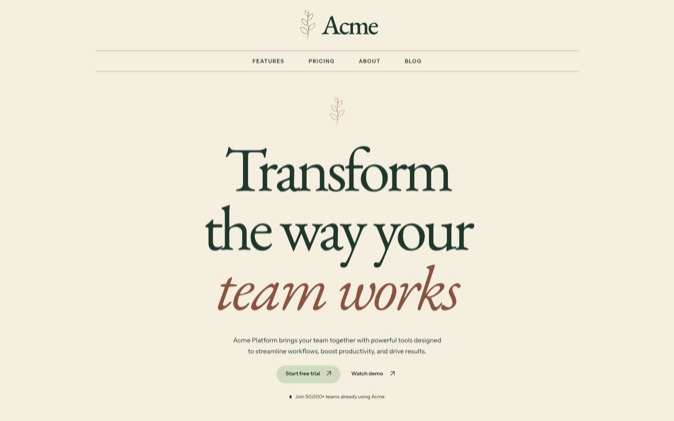
Make a page template your own in DesignPrompts Builder by changing the blocks it contains, their order and layouts, then adjusting the page-wide style and any individual block exceptions. Builder keeps those choices in a page plan and turns them into a prompt for your coding agent.
Start by choosing how much of the page you want to change. A template chooses the starting structure. A Preset chooses the overall look. A block's controls change one part of the page.
This walkthrough uses Relay, a fictional appointment-booking SaaS for independent salons. It publishes availability, accepts bookings and sends reminders. The page's main action is Book a demo.
Start with a template and a look
Open the Start page, choose SaaS launch under Page template and Clear Day under Look. Inspect the Desktop and Mobile previews, then select Edit in Builder.
The Builder separates the decisions into these controls:
| Control | What it changes |
|---|
| Template | Replaces the page's blocks with another starting plan |
| Blocks and Layers | Add, remove, duplicate or reorder blocks |
| Block variation | Changes the selected block's arrangement |
| Options | Changes supported details such as counts or secondary actions |
| Look | Applies a Preset to the page and resets Block style overrides |
| Style | Adjusts page-wide visual settings |
| Block style | Overrides supported settings for the selected block |
Start with the broad choices before making local exceptions. Applying another Preset later can reset the block styling you have just tuned.
Give the whole page a consistent starting style
Open Style. Clear Day already supplies a light background, sans-serif typography and a restrained treatment. You can keep that direction while changing individual settings.
For this exercise:
- Keep Page width at Regular so the explanations share a consistent reading width.
- Keep Section spacing at Regular while you establish the structure.
- Change Corners to Soft for a less rounded treatment.
- Change Button shape to Rounded.
These are page-wide choices. If you want a different font relationship, use Font pairing. If the headline dominates the page, adjust Headline size and inspect the text in context.
The controls are useful because you can judge the same page while changing a specific design decision. You do not need to describe the entire look again each time you adjust it.
Inspect the Builder's 1440 and 390 viewport controls as you work. They show the desktop and phone Wireframes. Zoom changes how the preview fits in the editor; the viewport controls change the width being previewed.
Adapt the structure to Relay's content
Open Layers. SaaS launch includes sections for customer proof and pricing, but Relay's fictional brief supplies neither. Remove Logo cloud, Testimonials and Pricing with each block's remove control.
Move Process above Features. Drag the Process row in Layers on a wide editor. On a narrow editor, use its move-up and move-down controls. The page can now explain the sequence of availability, booking and reminder before giving each capability more detail.
Keep this order for the exercise:
- Site header
- Hero
- Process
- Features
- FAQ
- Closing
- Footer
To add something later, open Blocks and search by its name. You can also use Add a block here between sections to insert a block at that position.
Do not add a section simply because the library offers it. Each block creates an obligation to supply useful content. A pricing table needs actual terms; a testimonial needs an attributable quotation.
Change a block's arrangement and options
Select the Hero in the preview or Layers. Its controls appear under Block.
Under Block variation, switch from Split to Stage. Split places text beside a large image. Stage gives the image a larger role in the composition. Compare the two with the product visual you intend to supply.
Press Undo to return to Split, then Redo to restore Stage. This gives you a direct comparison of the arrangement. For this exercise, keep Stage.
Under Options, turn off Key numbers, Trust caption and Secondary action. Relay has no supplied customer figures or endorsement, and the hero has one main action.
Next select Features. Change Block variation from Alternating to Signature, then set Items to 3. The section can give availability, bookings and reminders one item each.
Options depend on the selected arrangement. Alternating offers Rows; Signature offers Items and Icons. Recheck the available options after a layout change instead of assuming every arrangement has the same controls.
Set the FAQ's Questions to 4 and turn off Closing's Secondary action. Supply only answers supported by the product brief when you hand the page to the agent.
Give one block its own style
Select the Hero and find Block style. It exposes only the settings that the selected design uses. Available controls can include Cards, Headline emphasis, Image type, Image framing and Section spacing.
For Relay's Hero, choose:
| Block style control | Setting | Purpose |
|---|
| Image type | UI mockups | Plan an illustrative product interface |
| Image framing | Framed | Contain the visual in a panel |
| Section spacing | Roomy | Give the opening section more space than the page's Regular setting |
These choices affect the Hero. The rest of the page continues using its page settings unless another block has its own override.
Each setting has a source label:
- Page style means the block follows the page-wide setting.
- Template means the block's setting matches a requirement of the currently matching template.
- Custom means it has its own setting that does not match that template requirement.
Template is determined from the current block structure and arrangements. After you change that structure, a retained setting can show Custom because the page no longer matches a template.
This explains a common surprise with imagery. SaaS launch initially gives its Hero Screenshots in a Browser frame. Those block settings can remain even when the page-wide look calls for UI mockups. Select the Hero to inspect and change them.
To remove the Hero's spacing exception, choose Use page setting beside Section spacing. It returns to the page's Regular spacing. The same control beside Image type or Image framing returns that individual setting to the page's choice.
Use the recovery control that matches the change
Builder has several ways to return to an earlier choice. Their scopes differ.
| Action | What it does |
|---|
| Undo | Restores the previous document state in the current editor history |
| Redo | Reapplies an undone edit; making a new edit clears the redo path |
| Use page setting | Removes one Block style override so that setting follows the page |
| Reset page style | Reapplies the current Preset and resets Block style overrides; it appears when the page style differs from its starting look |
| Choose another Look | Applies that Preset and resets Block style overrides while keeping the blocks and their arrangements |
| Choose another Template | Replaces the blocks and their arrangements; the page-wide style, product brief and prompt settings stay |
| Toolbar Reset | Clears the working page, style, product details and prompt settings; saved pages stay |
When a Preset is applied, Builder restores block overrides from a matching template. If your edited plan no longer matches a template, it clears those overrides so the blocks follow the page settings. Reset page style uses that same operation. It can therefore change more than the global controls you last adjusted.
These style resets leave the block plan and each block's separate Background selection in place. Background offers Auto, Page, Alternate and Inverse; Auto follows the page's section-background pattern.
Template replacement, Preset application and toolbar Reset are undoable edits. Use Undo while that history is available. Reloading the editor starts a fresh undo history.
For a named copy you can return to, open Saved pages and choose Save page. Saved copies stay in that browser. You can also copy a page link to open a copy elsewhere; this shares the Builder document, not a deployed website.
Add your product brief and inspect the prompt
Select Get prompt. Under Your product, enter Relay in Product and put the facts and content requirements in Page brief:
text
Relay is a fictional appointment-booking SaaS for independent salons.
It lets a salon publish availability, accept bookings and send reminders.
The primary action is Book a demo.

Explain the booking sequence in Process and give each capability one item
in Features. Use plain, welcoming copy and a static interface illustration
labelled Example data.

Write FAQ answers only from the facts above. Do not invent customer proof,
prices, integrations or savings. Use the demo destination I supply with
the implementation request.
The Product field supplies the brand name in the Wireframe. The Page brief becomes material for the coding agent; it does not turn the Wireframe into an editor for every headline and paragraph. Structural edits can also change which sample content the preview uses.
Before copying, read the prompt and check the section order, selected arrangements, option counts and block-specific style choices. Your agent should receive the choices you intend to keep.
Select Copy prompt and give it to your coding agent with the target project, real copy, assets and action destinations. Builder's output is a prompt; the agent writes the page's code.
If you already have LandingKit React components installed and want to change an import, use the separate guide to changing a Block's layout without rewriting its content. A Builder Preset is a set of visual choices for the prompt, separate from an installable LandingKit style.
Open the Builder to adapt a template's structure, layouts and look. It is free to use without sign-up.